Creating a perfect general webpage

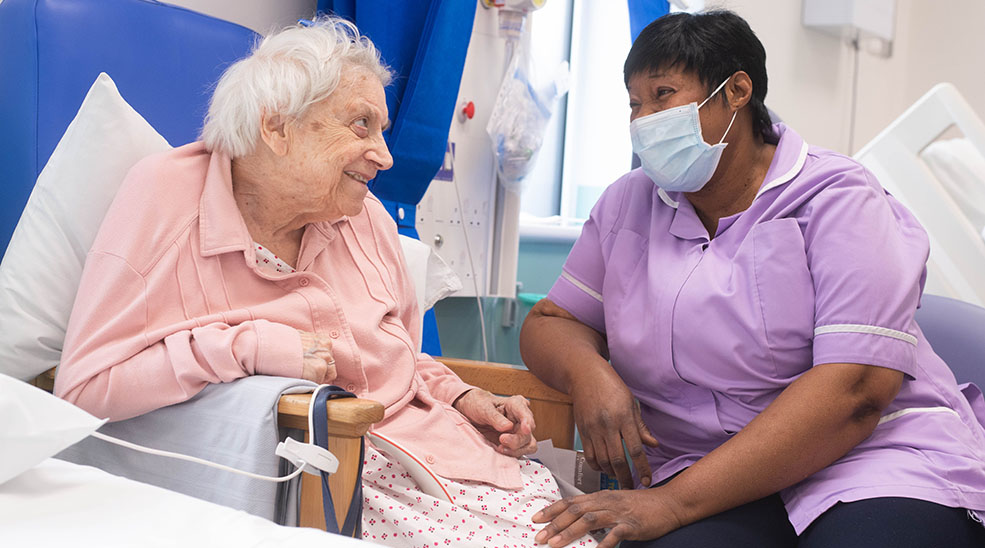
Patient sat in bed talking to a nurse

Standard page structure

Nurse smiles at patient

Each page uses a standard structure

We use a full page layout for all new pages, with a clear page header

This provides a clearer journey for visitors, and importantly, stacks better for people visiting our website on a mobile device (about 60% of visitors).

To achieve this structure for a general page (eg pages other than hospital, services and recruitment pages), follow these steps:

  1. Apply a page header with an image. Use the banner style: Barts - banner default (warm or page style). Place this in the top header area.
  2. Chunk content within 'boxes' or 'split' boxes. Use the style placement Barts - Blocks - Text image left or right (default) and place in top header so that it is full-width. The formatting of this text uses a header 2 (you will need to apply this in the text editor section) for the first line and normal text from there. The larger text in the second paragraph is formatted automatically - think about this text carefully as it can help drive home your key messages.
  3. 'Hide' the left hand navigation. You do this in layout view and click 'hide' in the side nav placement.
  4. Don't place any content in the right column
  5. Use menu placements or ctas to signpost to child pages, or other relevant pages for that page.
  6. Use "Accordion - NHS Blue" only for larger blocks of text where patients need more information.
Nurse smiling

Using a block box

  1. Chunk content within 'boxes' or 'split' boxes (this is a block box). Block boxes stretch across the full width of the page, so are best placed in the 'top row'. Split boxes are not stretched across the full width of the page. Consider what style placement would be best for your page as you design it.
  2. Apply heading 2 to your top header within the main content box
  3. At the layout view, click 'edit text content placement' and select 'no' for show headline
  4. Use the style placement: Barts - Blocks - Text image left or right (default). 
Staff smiling at patient

Using a split box

  1. Chunk content within 'boxes' or 'split' boxes (this box is a split box). Split boxes do not stretch across the full width of the page. However boxes do stretch across the page. Consider which option would work best for your page.
  2. Apply heading 2 to your top header within the main content box
  3. At the layout view, click 'edit text content placement' and select 'no' for show headline
  4. Use the style placement: Barts - SPLIT - Text image left or right (default). 

Using menu placements

These boxes are signposts to other pages you may wish to link to. 

This is called a menu placement. To create one, follow these steps:

  1. Under publishing in the left hand menu in the CMS, click on the plus next to menu placement
  2. The name is what the menu placement is called in the back end. Please follow our naming structure by calling it the name of the page, colon, name of the menu placement (eg this one is called perfect webpage: page options).
  3. The headline is what will appear on the front end - although you will normally hide this (more on this later)
  4. Choose the site you want to publish to (in this case it would be Barts Health NHS Trust)
  5. The type is manual
  6. Choose the pages you want to add to the menu placement. There may be multiple pages with the same name, so make sure you choose the right one. To do this, click on the magnifying glass, type in the name of the page again and click filter. Click on the two overlapping boxes - this will give you the details of the page, such as the site it's linked to. When you have found the one you want to use, click on the name of the page. This will add the page to your menu placement.
  7. Repeat for each of the pages you want to link to.
  8. Click publish to site.
  9. Add your menu placement to the page by clicking on the plus in article content on your page layout.
  10. Click edit menu placement from the layout view. 
  11. Select off for showing the headline.
  12. Next to show image, select thumbnails. You may not have yet attributed a thumbnail to your page. To do this, go back to your menu placement and without clicking edit, click on each page name - this will direct you to the page you're linking to. You can then add a thmbnail and icon image to the page. You may wish to add the image to both to give you more options in the menu placement design. Click publish to site when you've added your images.
  13. This particular menu placement style is a 'default' style, so you don't need to select a style option for this one.

Other menu placement style options you have available

  • An icon menu, which is what we use on #Shapeyourstory in critical care. This style option is called 'Barts Health - icon menu', and you need to select icons for the menu placement image option (as opposed to thumbnails)
  • A floating icon menu, which is what we use on the Cancer service page to direct people to the child pages. You will also need to attribute an image to the menu placement for this option. This style option is called 'Maternity floating icon menu'.
  • An icon menu without a border, which is what we use on the Cancer service page to direct people to our hospital pages. This style option is called 'Maternity menu placement'.

We remember our patron

Adding a video

Adding a video to your page

Film content is more engaging than text alone, so promote your films on your landing page.

I've created this using a content collection and styled with the placement style "Barts - video placement [hospital name]".

To create a content collection:

  1. Create your pieces of text content. This will be a separate piece of text content for your film and your text. Name them using our naming style: page name: subject
  2. Your video size should be 450 high and 100% wide. You change these sizes in the 'source' code in the text content.
  3. Under publishing in the CMS menu, click the plus next to content collection.
  4. Name your content collection using our naming style and add a headline.
  5. You don't need to select a type.
  6. Search for your pieces of text content within the "text items" field.
  7. Publish to site.
  8. Turn the heading off on your content collection by selecting edit content collection from the layout view and selecting no headline.